

Hey, all you metalheads out there! Are you ready to create an earth-shattering, face-melting metal preset within Superior Drummer 3? Well, buckle up, because we're about to embark on a thrilling ride to craft the ultimate metal drum sound.
⚡️ Step 1: Choose Your Drum Kit
First things first, let's choose a drum kit that packs a mean punch. Superior Drummer 3 offers a vast selection of kits, but for a truly epic metal sound, consider starting with a kit from the following SDX expansion packs:
- Metal Machinery SDX
- The Metal Foundry SDX
- Death & Darkness SDX
These expansions are specifically designed for metal and provide a solid foundation for our monstrous preset.
🔥 Step 2: Customize Your Kit
Time to unleash the beast within! Start by swapping out individual drums and cymbals to create your ultimate metal machine. Click on the individual drum or cymbal in the interface, and choose from the available options. Some key elements to consider:
- Kick Drum: Opt for a kick with a sharp attack and deep, powerful low end.
- Snare Drum: Select a snare with a tight, crisp sound that cuts through the mix.
- Toms: Choose toms with a focused, aggressive tone that resonates with your metal soul.
- Cymbals: Go for bright, cutting crashes and a piercing, cutting ride.
🌪 Step 3: Tweak the Microphone Settings
Now let's dive into the depths of the mixer and adjust the microphone settings for each drum. Keep in mind that metal drums require a more aggressive and powerful sound. Here's a roadmap for you to follow:
- Close Mics: Use these to add presence and attack to individual drums.
- Overhead Mics: EQ them to emphasize the brightness and clarity of cymbals while keeping the overall kit balanced.
- Ambient Mics: Compress them to add sustain and create a larger-than-life drum sound.
💥 Step 4: Apply Processing
Let's polish our metal masterpiece with some essential processing. We're talking compression, EQ, and reverb.
- Compression: Use compression to tighten up the drums, adding punch and power. Be careful not to overdo it, as too much compression can suck the life out of your drums.
- Equalization (EQ): Carve out some space for each drum by cutting unwanted frequencies and boosting the sweet spots. For example, boost the low end of the kick drum and the crack of the snare.
- Reverb: Add some space and depth to your drum sound with reverb. Be cautious not to drown your drums in reverb, as it can make the mix muddy.
🎛 Step 5: Balance the Levels
The final step in our metal drum alchemy is to balance the levels of each drum and cymbal within the mix. This is crucial for achieving a coherent, powerful sound. Here are some guidelines:
- Kick Drum: Make sure it has enough power to drive the rhythm without overwhelming the mix.
- Snare Drum: Keep it prominent in the mix as it's a vital part of the groove.
- Toms: Balance them well, so they don't get lost in the mix during fills.
- Cymbals: Make sure they're not too harsh or too soft, blending well with the rest of the kit.
Congratulations! 🎉
You've now created a killer metal preset in Superior Drummer 3 that's ready to crush skulls and melt faces. But remember, there's no one-size-fits-all solution, so feel free to experiment and tweak the settings to suit your unique style and preferences.
🎚 Bonus Tips
To take your metal preset to the next level, consider these extra tips and tricks:
-
Use parallel compression: Create a parallel compression bus to blend heavily compressed drums with the original, uncompressed sound. This will give you a punchier and more aggressive sound without sacrificing the natural dynamics of the drums.
-
Add distortion or saturation: Add subtle distortion or saturation to the snare, kick, or even the whole drum mix to bring out harmonics and create an edgier sound.
-
Layer samples: Layering samples can help you achieve a fuller and more powerful drum sound. Blend kick and snare samples with your live drums to add extra weight and punch.
-
Utilize drum replacement: If you're not satisfied with the sound of a particular drum, use drum replacement to swap it out for a more suitable sample. Superior Drummer 3's Tracker feature makes this process a breeze.
-
Route drums to individual outputs: If you're using Superior Drummer 3 within a DAW, route the individual drums to separate outputs. This will give you more control over the drum mix and allow you to apply additional processing to each drum independently.
Now that you've got your bone-crushing metal preset, it's time to unleash your inner metal god and lay down some face-melting tracks. Remember, practice makes perfect, so keep refining your sound and exploring new techniques to make your metal drums truly superior. Rock on! 🤘
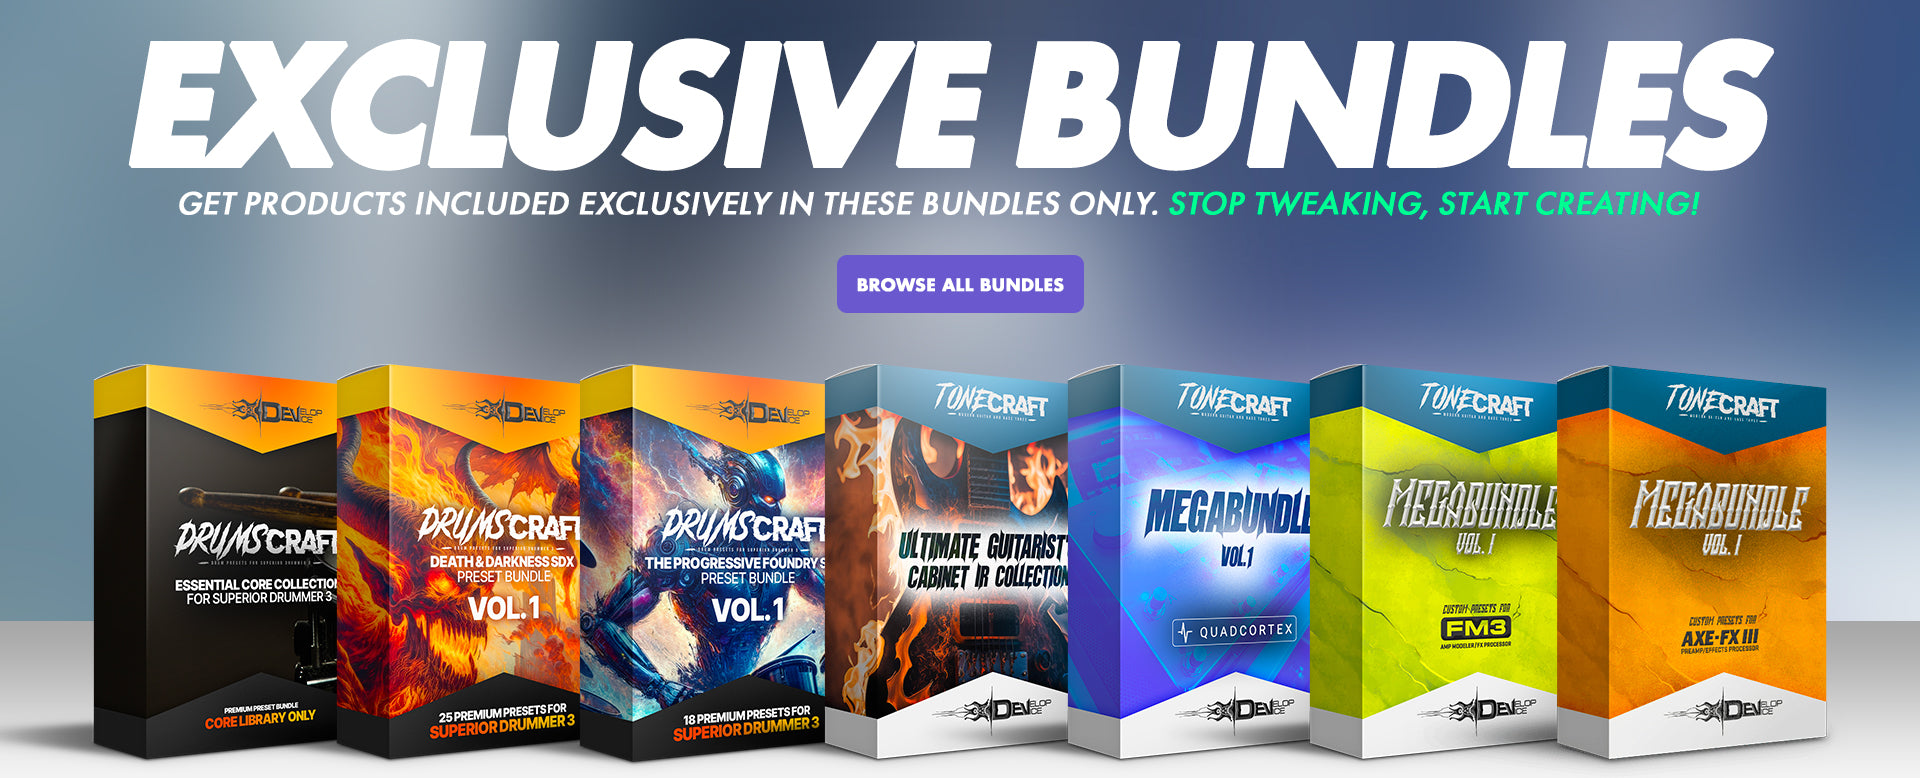
🌟 Professional Preset Option 🌟
If you're not feeling quite ready to dive into crafting your own custom metal preset, fear not! You can still get a stellar drum sound with professional Superior Drummer 3 presets from Develop Device. They offer a collection of top-notch presets specifically designed for a wide range of genres, including metal.
Check out their Superior Drummer 3 presets at:
🌐 https://developdevice.com/collections/superior-drummer-3-presets
By using these presets, you can save time and still achieve a professional sound, giving you more time to focus on your playing and composing. It's also a great way to learn from the pros and get inspired by their mixing techniques. Once you feel more comfortable, you can always dive back into creating your own custom presets to match your unique vision. Happy drumming! 🥁


